Wouldn't it be great if we did not have to worry about mic and speaker placement when setting up voice control? I've thought so . So I came up with a way that you can mod an intercom to be a two way interface using speaker jacks and not loose the functionality of the intercom!
After a few months trying different configurations I've finally found a way to make this work. This project was a fun learning experience for me as I got to hone my soldering skills, learn about electronics and make my wife happy! I would like to add that special thanks goes to the gang over at the home automated chatroom for their input and great ideas on troubleshooting this mod. (Bill, Dave, Knightrider, and agent99) Also sorry that some of the pics are a bit blurry my camera is not all that great. Ok Let's get modding!
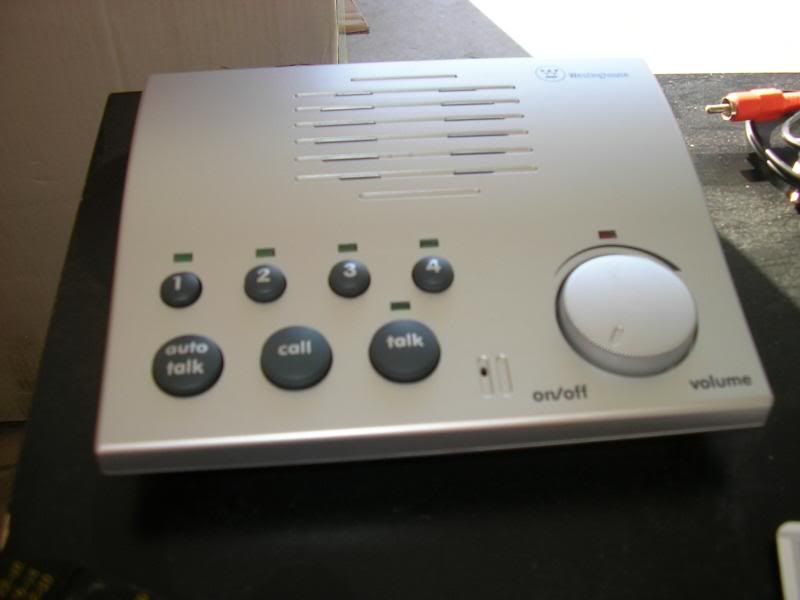
*Note this mod will only work with a voice activated intercom and 2 separate sound cards. The pc motherboard sound card for the “line in” and an external plug and play sound card for the “line out”Materials list:· Intercom ( I used the Westinghouse Vox intercom model# WHI-4CUPG)
[
· One 1/8” Stereo closed circuit phono jack ( Radio Shack Part # 274-246)
· One 1/8” Stereo phono jack ( Radio Shack Part # 274-249)
· Hook up wire
· Soldering Iron
· Solder
· De-soldering vacuum bulb
· Small Phillips screwdriver
· Drill
· Patience
· A taste for Papaya’s
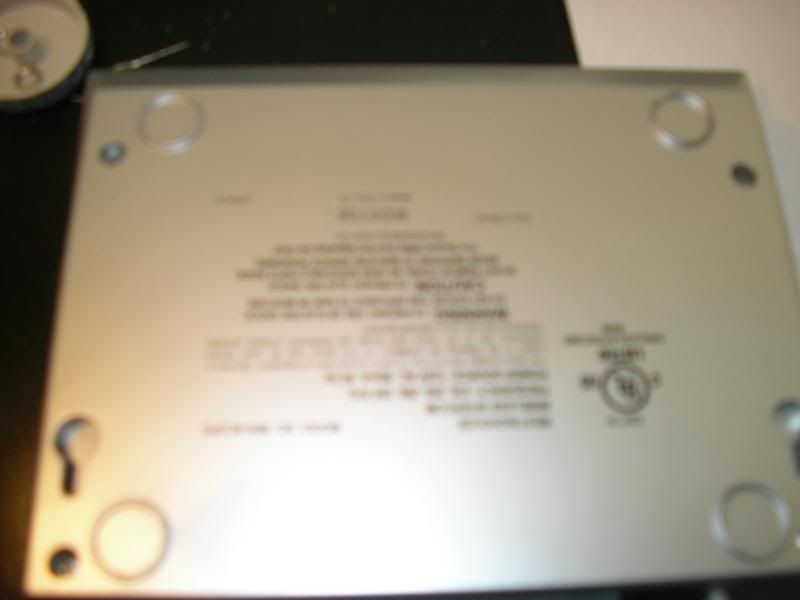
Step 1: Open it up Make sure the power is unplugged and remove the volume knob and turn the Icom over. There are 4 screws on the bottom of the Icom . Unscrew them.
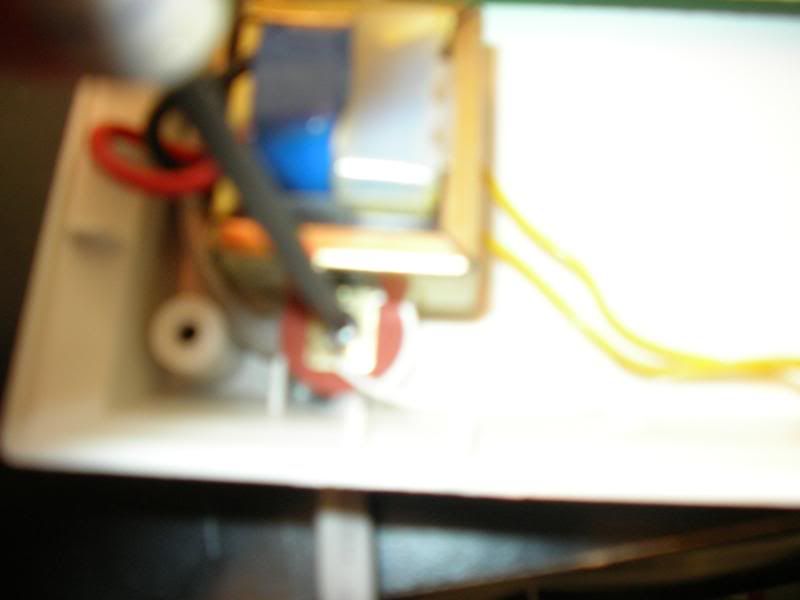
There are also 2 screws holding the power transformer in place unscrew them as well.
 Step 2: Drill the holes
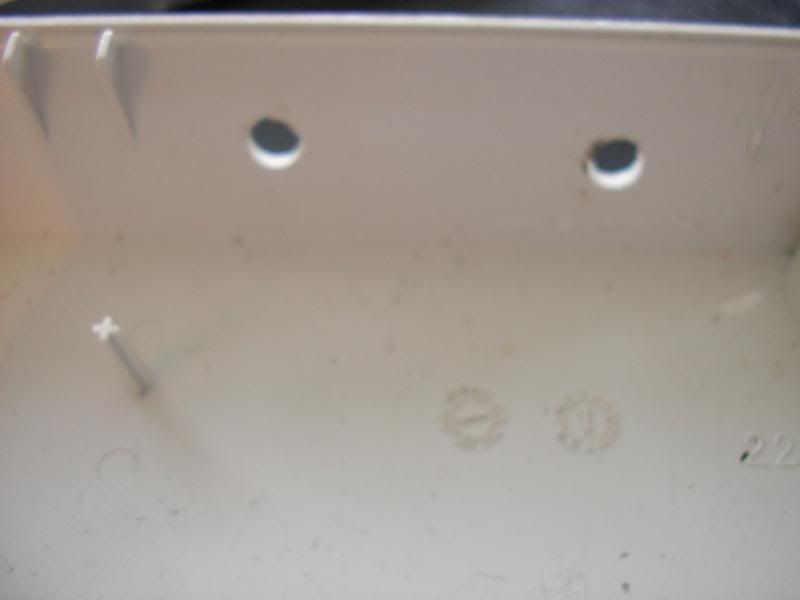
Take your drill and drill two holes in the back of the base of the icom.
 Step 3: Connecting the “Mic In” Jack
Locate the microphone on the icom
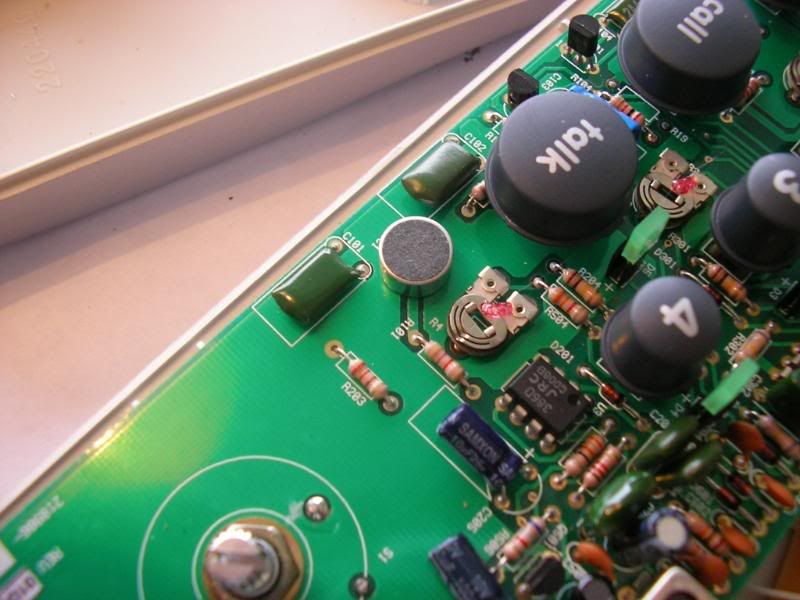
Carefully turn the board over and locate the pins of the microphone and solder a wire to each pin (black wire to the left pin and red to the right)
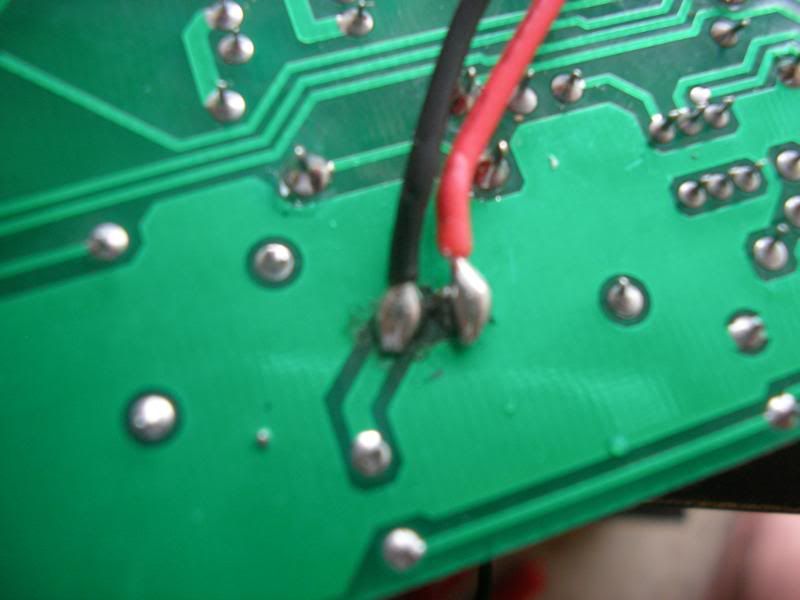
Next connect the other ends of the wires to the jack ( Radio Shack Part # 274-249). The black wire should go to the tip of the jack and the red wire should go to the ground.
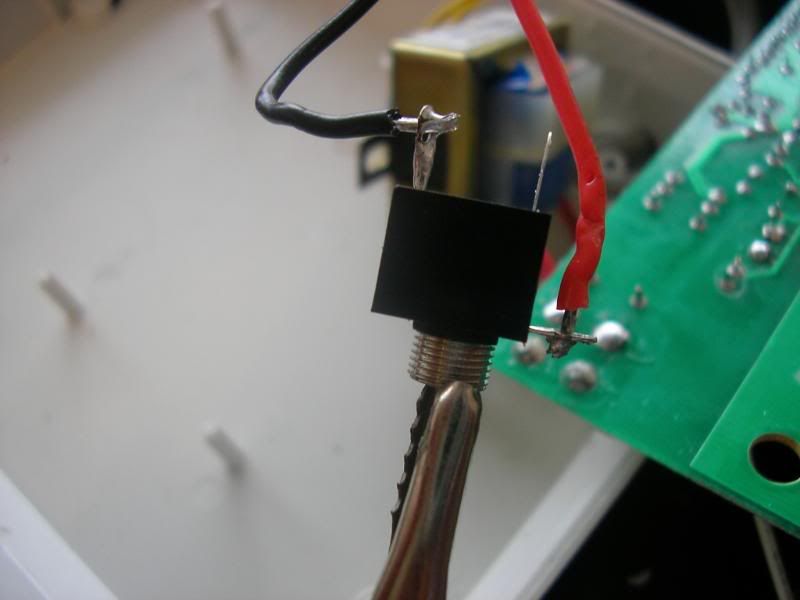
Now turn the circuit board back over and feed the jack towards the back of the icom.
Step 4: Connecting the “Line Out” JackTake your soldering iron and De-soldering vacuum bulb and remove the wires connecting to the speaker
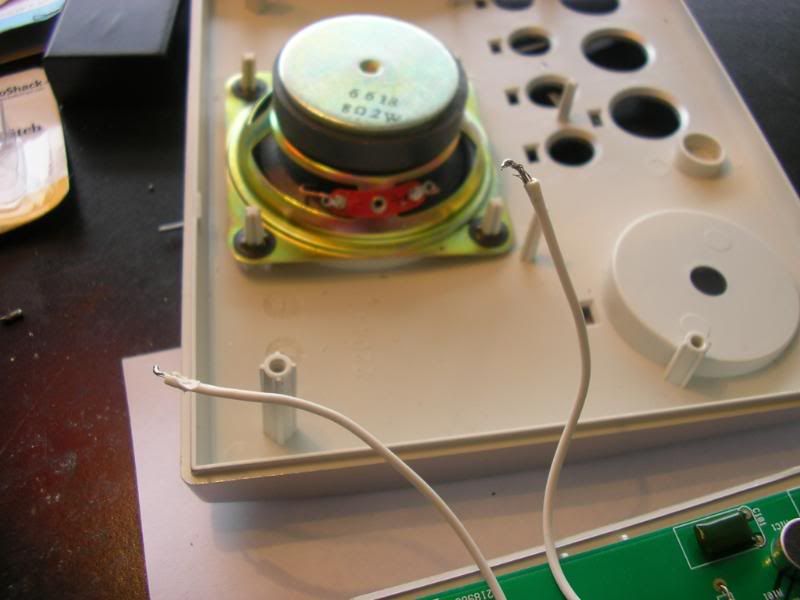
Next take your hook up wire and solder the black wire to the positive side of the speaker and the red wire to the negative side.
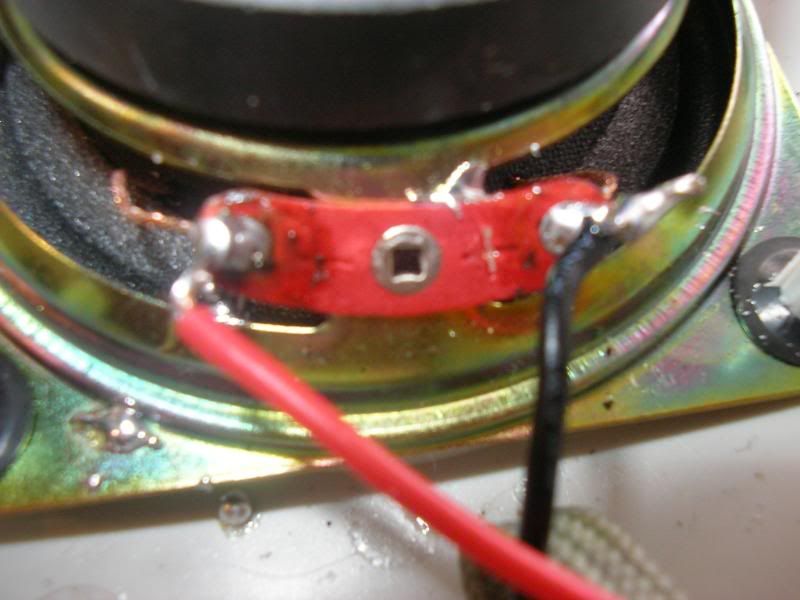
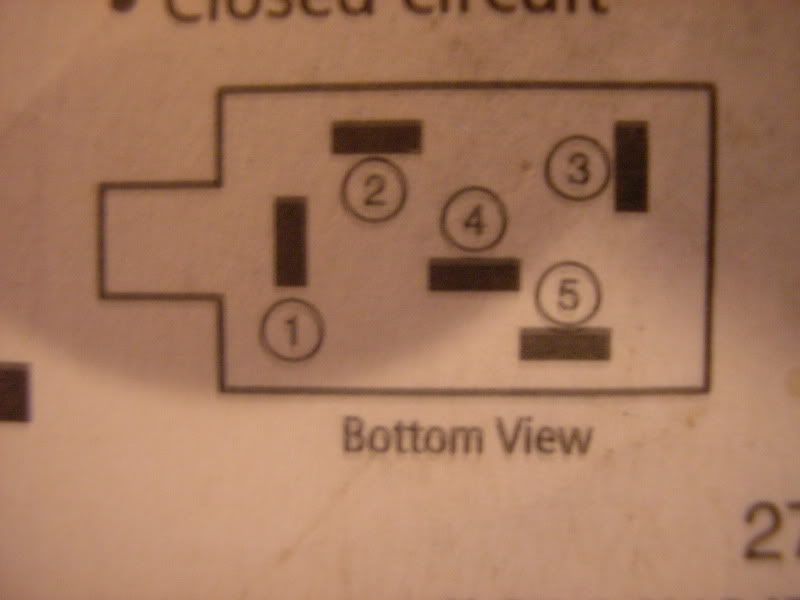
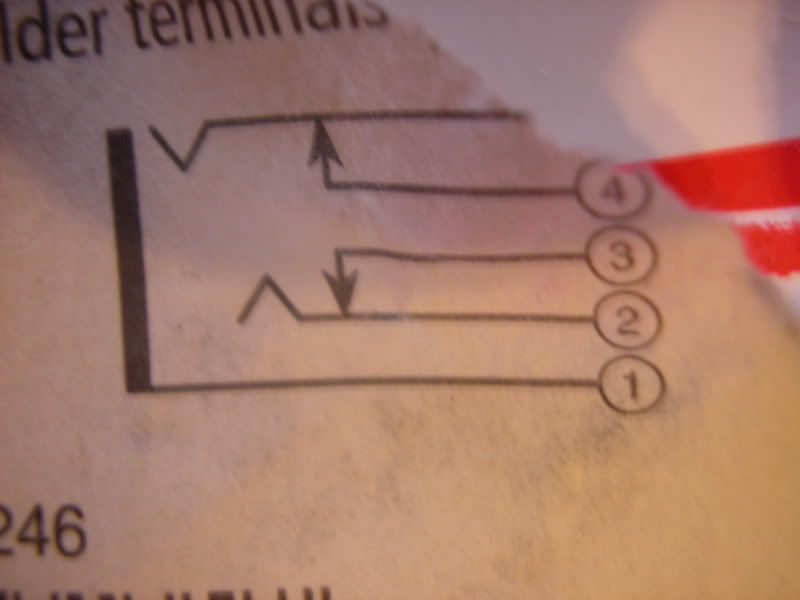
Now we are going to solder in the line out jack (Radio Shack Part # 274-246). This will cut the speaker of the intercom off when you plug in the cable to the jack so that there is no feedback. Take the positive lead from the Icom circuit board(it should be marked on the circuit board)and solder it to pin 2 of the Jack. Take the positive lead from the speaker and solder it to pin 3. Take the negative lead from the Icom circuit board and solder it to pin 5. Take the negative lead from the speaker and solder it to pin 4.
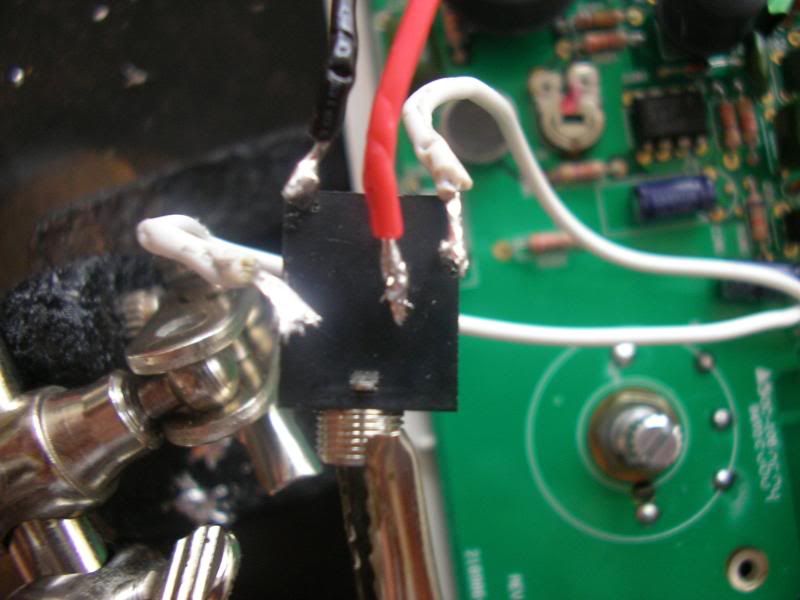 Step 5: Put it together
Place the new jacks in the holes and screw them on with the nuts provided with the jacks
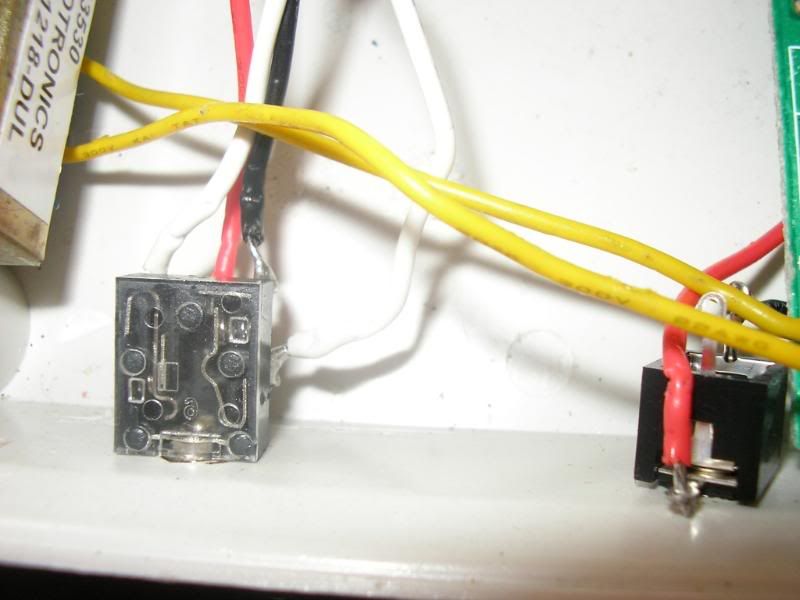
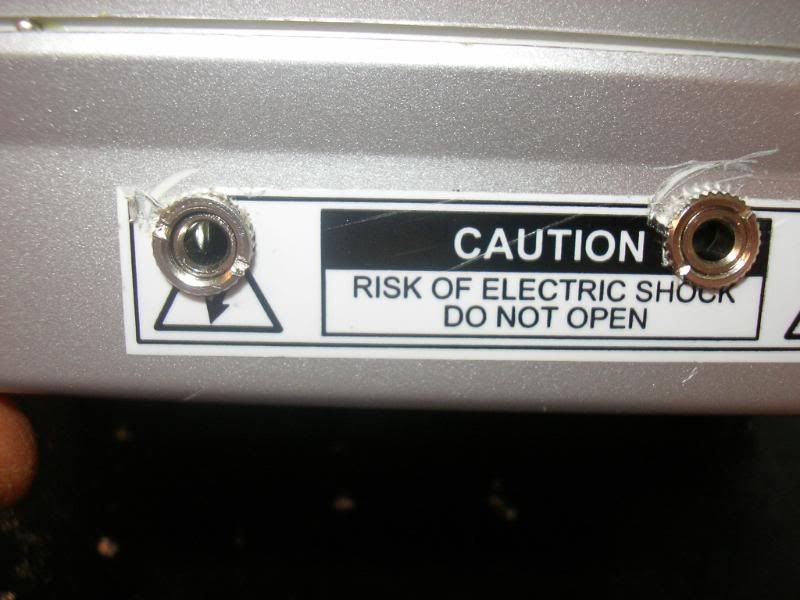
Now Screw back in the power transformer and replace the case and return the four screws to their homes and you are Almost done!.
Step 6: Connect it to the computerPlug the “ line out” jack from your icom to the “line in” of your motherboard soundcard (Be sure to set your line in on the motherboard soundcard for your default sound devce).
Plug the “Mic in” Jack of your Icom to the “ line out” of your external PCI soundcard(Be sure to set your line out on your PCI soundcard for the external sound device). Now press the autotalk button on your intercom and set it to the desired channel and that’s it. Enjoy total 2 way voice control without the hassle of speaker or mic placement!
Another thing to note is that because the line out jack from the Icom is not properly grounded you may have to use a
Direct Box (<--Link) between the line out of the Intercom and line in of the computer to filter out noise that may be coming from the Icom.
This is by no means an exact way to do this . It's just how I got it to work. Suggestions and Questions are always welcome! Thanks and HAve fun!
Jeff
 Poll
Poll
 Author
Topic: [USER IDEA ]: How to mod an intercom for two way interface using speaker jacks (Read 61256 times)


